Thumbprint Cookies

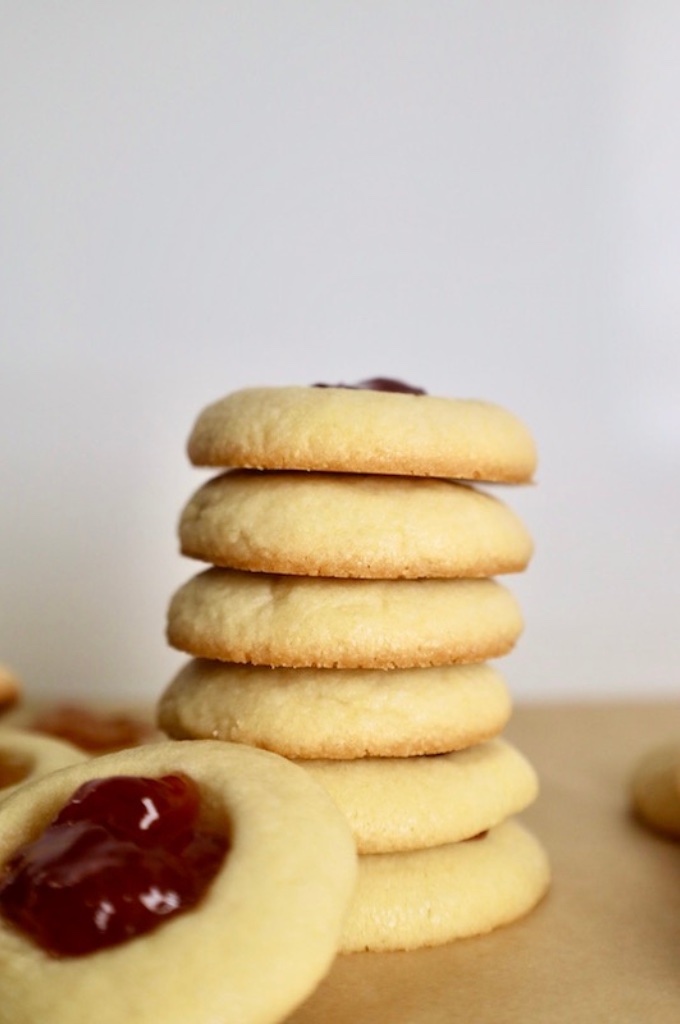
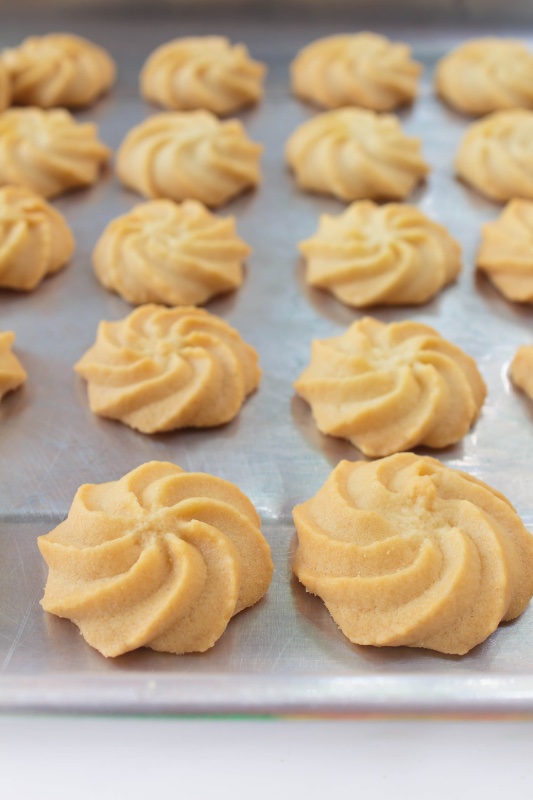
Thumbprint Cookies are delicious because of their buttery and crumbly texture. The addition of sweet filling, such as jam or chocolate, creates a perfect balance of flavors. They are easy to make and great party treats. Their small size makes them perfect for sharing and trying different flavors without overindulging.

Tips on making delicious Thumbnail cookies
- Use room-temperature butter and eggs for the smoother dough.
- Chill the dough for at least 30 minutes before baking.
- Option to roll the dough in sugar to give it a nice crunch.
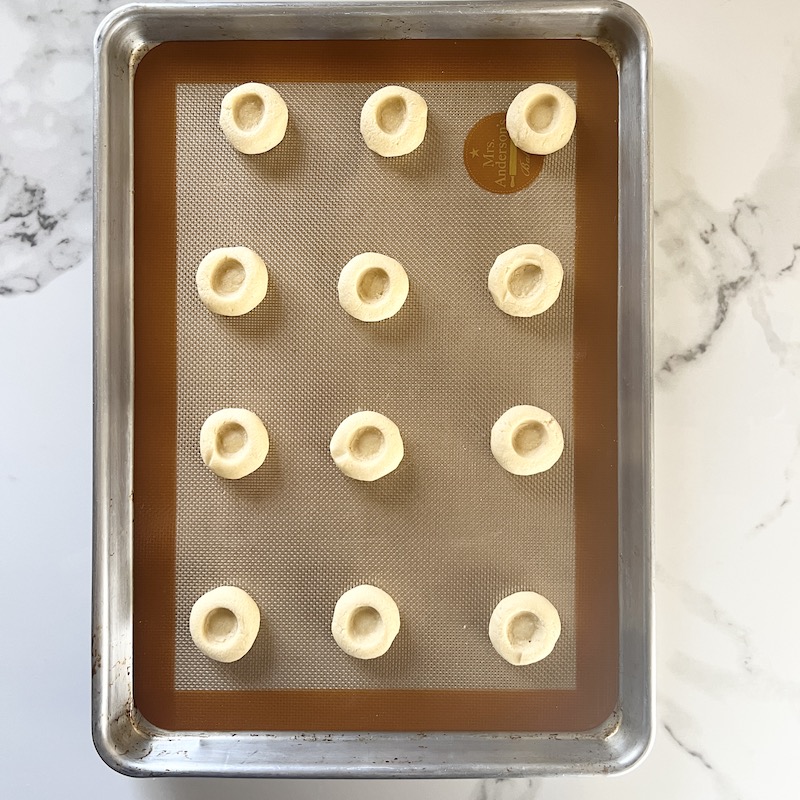
- Use the tip of a rolling pin or the back of a measuring spoon to make indentations in each cookie.
- Fill the indentations with your favorite jams or chocolate spread.
- Bake the cookies until the edges are lightly golden.
- Let the cookies cool on the baking sheet for a few minutes before transferring them to a wire rack to cool completely.
More ideas for sweet treats:
Peanut Butter Chocolate Chip Cookies
Ingredients
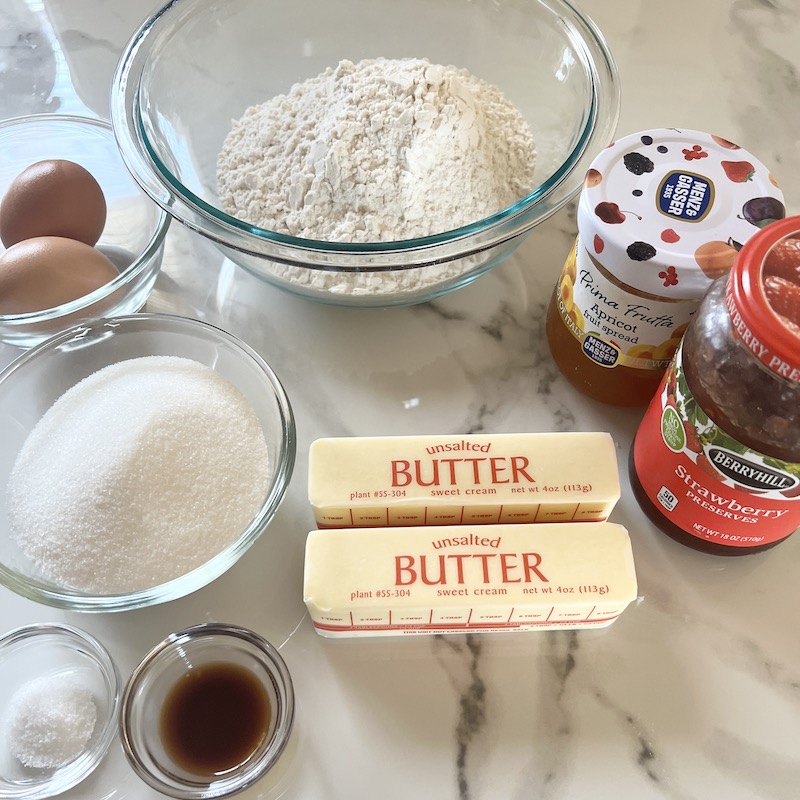
DOUGH:
- All-purpose flour: I buy unbleached all-purpose flour. It is not chemically treated with chlorine, which means it retains more of its natural nutrients and flavor. It also has a slightly higher protein content, which can result in better texture and structure in baked goods.
- Salt: I used sea salt. Salt is an important ingredient in baking as it enhances the flavor of the baked goods, balances sweetness, and helps to activate the yeast. It also helps to strengthen the gluten in the flour.
- Butter and Sugar: Creaming the sugar and butter together is an important step in baking as it helps to incorporate air into the mixture which results in a lighter and fluffier texture. it also helps to evenly distribute the sugar throughout the mixture, leading to a more consistent bake.
- Egg yolks: Adding only egg yolks to thumbprint cookie dough helps to create a more tender and crumbly texture, while whole eggs would add more structure and elasticity to the dough. This results in a cookie that holds its shape and has a more cake-like texture.
- Vanilla enhances the flavor and aroma, giving them a richer and more complex taste.
FILLINGS:
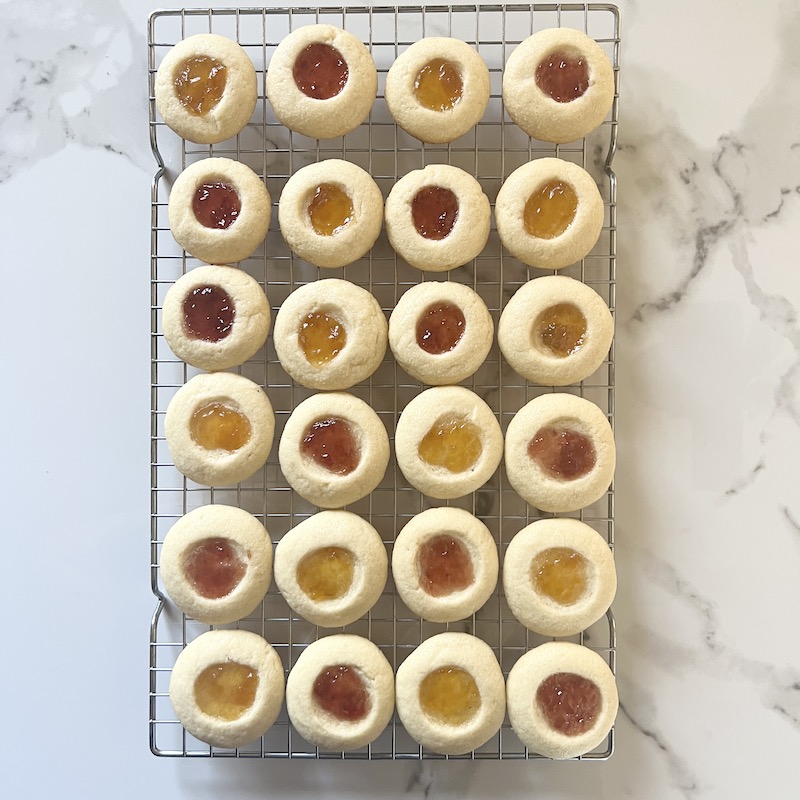
- Some popular fillings for thumbprint cookies include jam ( such as raspberry or strawberry), chocolate ganache, caramel, peanut, and peanut butter. However, you can get creative and use any type of filling you like. For this recipe, I used apricot and strawberry jams.
How To Make Thumbprint Cookies
- Preheat the oven to 350ºF. Line a baking sheet with parchment paper.
- In a large mixing bowl, combine flour and salt.
- In a separate bowl, cream the butter and sugar together until light and fluffy.
- Beat in the egg yolks and vanilla extract.
- Gradually add the flour, mixing until just combined.
- Roll the dough into 1-inch balls and place them on the baking sheet.
- Use your thumb (or the tip of a rolling pin, or the back of a 1/2 teaspoon measuring spoon) to make an indentation in the center of each cookie.
- Fill each indentation with about 1/2 teaspoon of jam or preserves.
- Bake for 12-15 minutes, or until the edges are lightly golden.
- Cool on the baking sheet for 5 minutes before transferring to a wire rack to cool completely.
Recommended Recipes







Thumbprint Cookies
Equipment
- Electric mixer
- Mixing bowls
- Rubber spatula
- Cooling rack
- baking sheet pan
- Measuring spoons
Ingredients
- 2 1/4 cups all-purpose flour
- 1/2 teaspoon sea salt
- 1 cup or 2 sticks of unsalted butter, softened to room temperature
- 2 egg yolks
- 1 teaspoon vanilla extract
Instructions
- Preheat the oven to 350ºF. Line a baking sheet pan with parchment paper.
- In a large mixing bowl, combine flour and salt.
- In a separate mixing bowl, cream the butter and sugar together until light and fluffy.
- Beat in the egg yolks and vanilla extract.
- Gradually add the flour, mixing until just combined.
- Roll the dough into 1 inch-balls and place them on the baking sheet.
- Use your thumb (or the back of a 1/2 teaspoon measuring spoon) to make an indentation in the center of each cookie. (see NOTE #1)
- Fill each indentation with about 1/2 teaspoon of jam or preserves. (see NOTE #2)
- Bake for 12-15 minutes, or until the edges are lightly golden.
- Cool on the baking sheet for 5 minutes before transferring to a wire rack to cool completely.
Video
Notes
 DID YOU MAKE THIS RECIPE? Follow us on Instagram #leanbellaskitchen
Make sure to come back to this blog and give us star ratings and reviews.
 Try chilling the dough for at least 30 minutes before baking. Additionally, avoid pressing too hard when making the indentation with your thumb. Finally, ensure that the dough is not too dry or too wet, as this may cause it to crack.
Store your thumbprint cookies in an airtight container at room temperature for up to 5 days or in the freezer for up to 3 months. Make sure to separate the layers with parchment paper to prevent sticking.
Try making a deeper indentation in the cookie dough before filling it with the desired filling. Additionally, make sure the filling is thick enough and not too runny. Another tip is to chill the dough before baking to help it hold its shape.
get a free week of meal-prepping recipes with a grocery list

Equipment

Hi there! Nice to meet you. My name is Jen.
I’m a mom and a wife, and just like you, cooking is something I love to do! Let’s make something delicious but let’s not make ourselves run around like a chicken without a head. The recipes I share are inspired by my grandma’s cooking. She also thought me how to save time and money and eat better with fresh ingredients. I grew up in a household where home-cooked meals are part of our day-to-day life. Cooking is not a chore but a way of living and connecting with each other. I created these recipes to help everyday cooking simple and flavorful…


