Pie Crust

Pie crust is one of the most important elements of a delicious pie. It is the foundation of every pie and can make or break the dessert’s taste. It should be crispy, flaky, and buttery, and it should be able to hold its shape while still being tender to the bite. In this post, we’ll walk you through the steps to create a perfect all-butter pie crust.
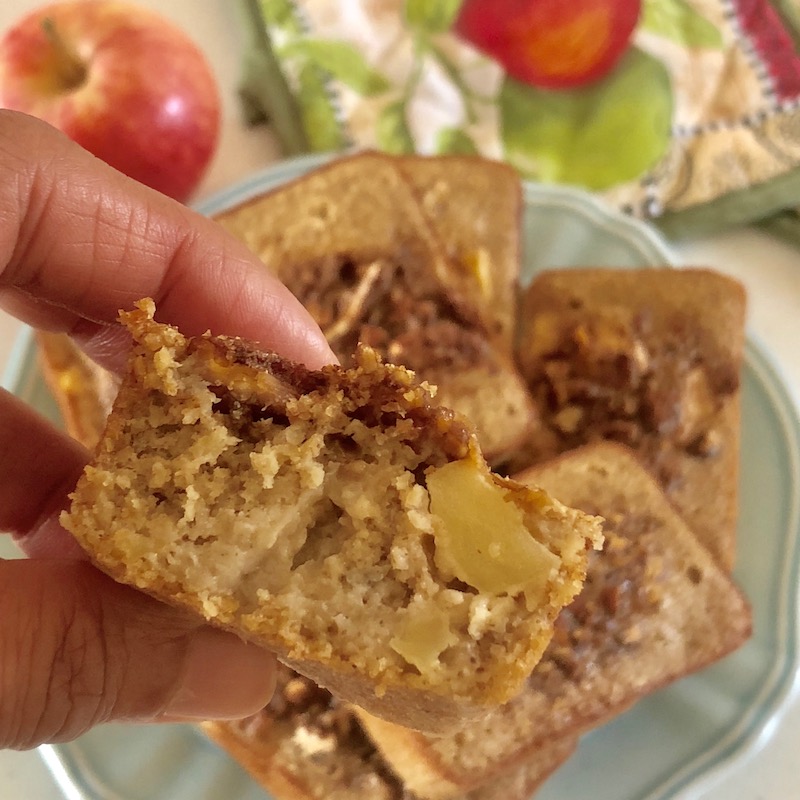
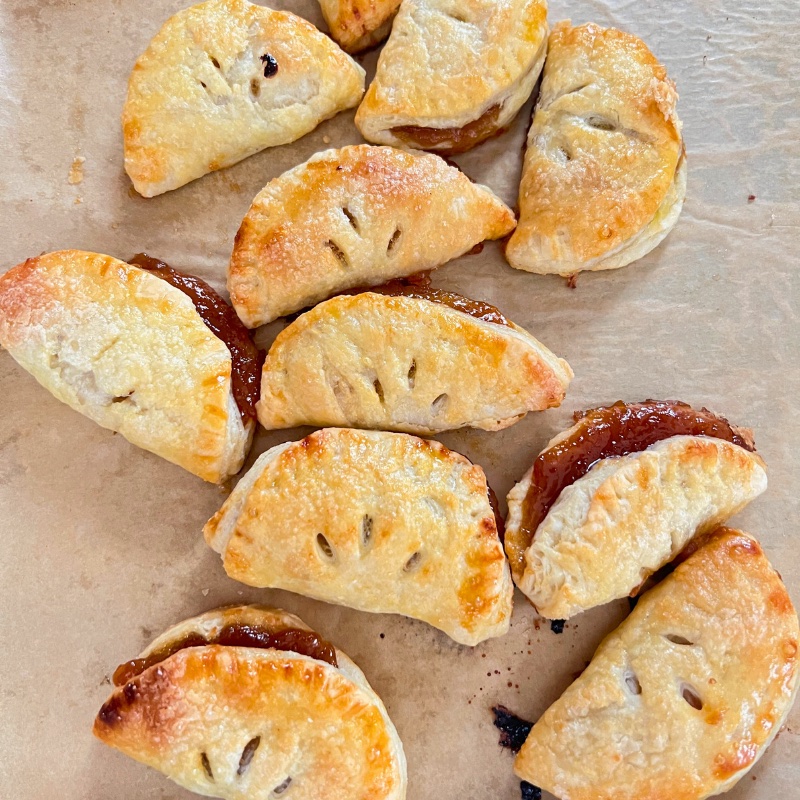
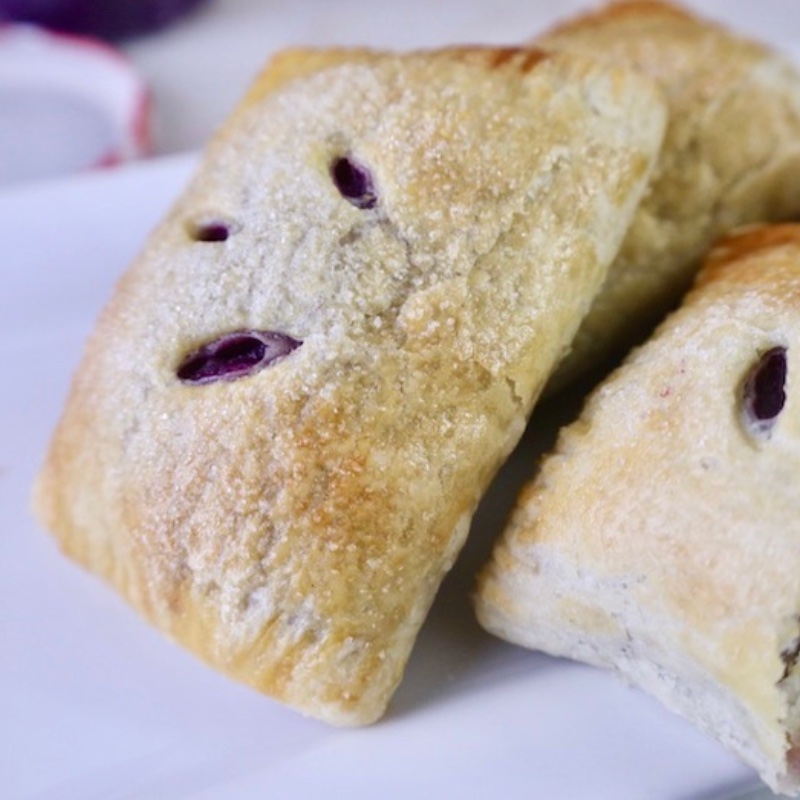
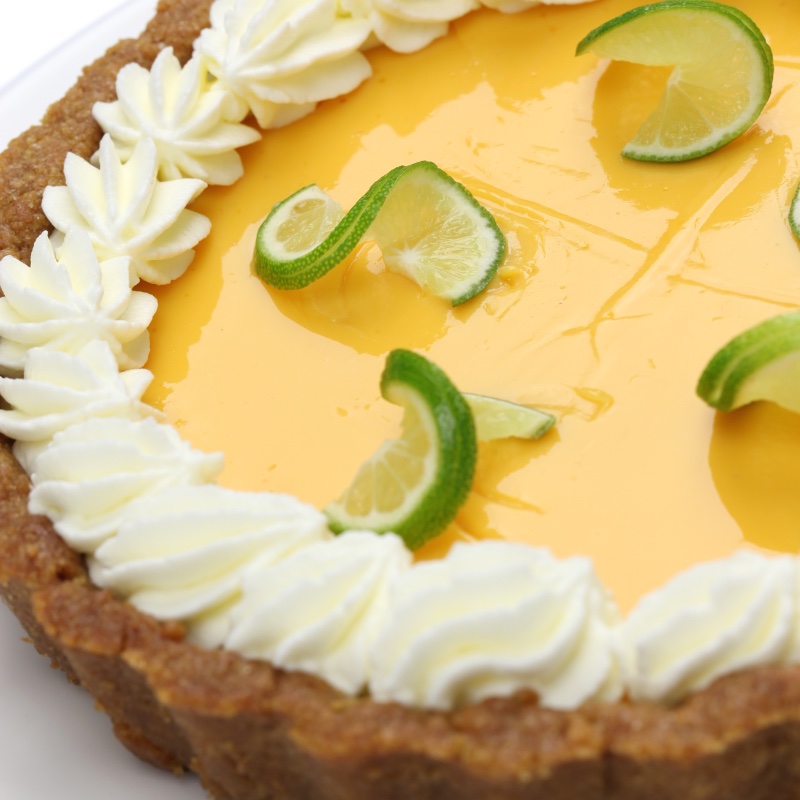
other recipe ideas you might like
What is an all-butter crust?
It is a classic pastry recipe that is perfect for those looking to elevate their baking skills. The rich and buttery flavor of this crust is unmatched, and it provides a sturdy and flaky base for any type of filling. Whether you’re making a savory quiche or a sweet fruit pie, it’s sure to impress your family and friends. While it may seem intimidating to make your own, with a little patience and practice, you’ll be a pro in no time. Let’s dive in and I’ll walk you through the steps to create a perfect all-butter pie crust every time.
Ingredients you need to make it
All-purpose flour: Unbleached all-purpose flour
Salt: Fine sea salt
Sugar: White granulated sugar
Butter: Unsalted butter, cut into an inch cubes
Cold water
How To Make It
Time needed: 1 hour
ALL BUTTER CRUST
- DRY INGREDIENTS
In a large bowl, combine flour, salt, and sugar. Use a whisk and mix to make sure there are no lumps and all ingredients are well incorporated.
- BUTTER
Add the butter pieces and use a pastry cutter or your fingers to work the butter into the flour mixture until it resembles coarse crumbs.
- ICE WATER
Slowly pour the ice water, a tablespoon at a time, and mix until the dough comes together.
- CHILL THE DOUGH
Gather the dough into a ball, flatten it into a disc, and wrap it in plastic wrap. Chill in the refrigerator for at least 30 minutes before using.
- ROLL
Preheat the oven to 425ºF. Remove the dough from the refrigerator, dust your work surface with flour, and roll the dough into a circle about 12 inches in diameter. Carefully transfer the dough to a 9-inch pie dish. Trim the excess dough leaving about 1/2 inch overhang.
- BAKE
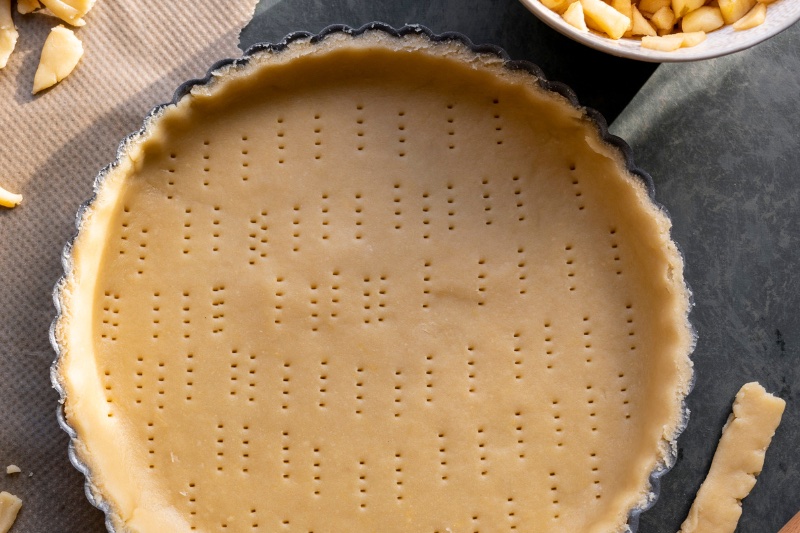
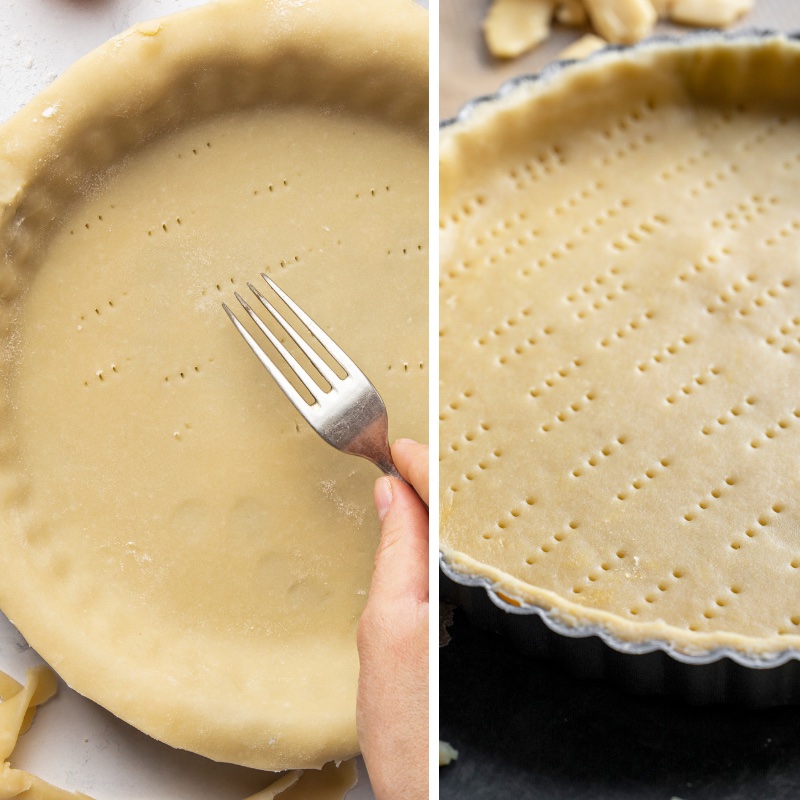
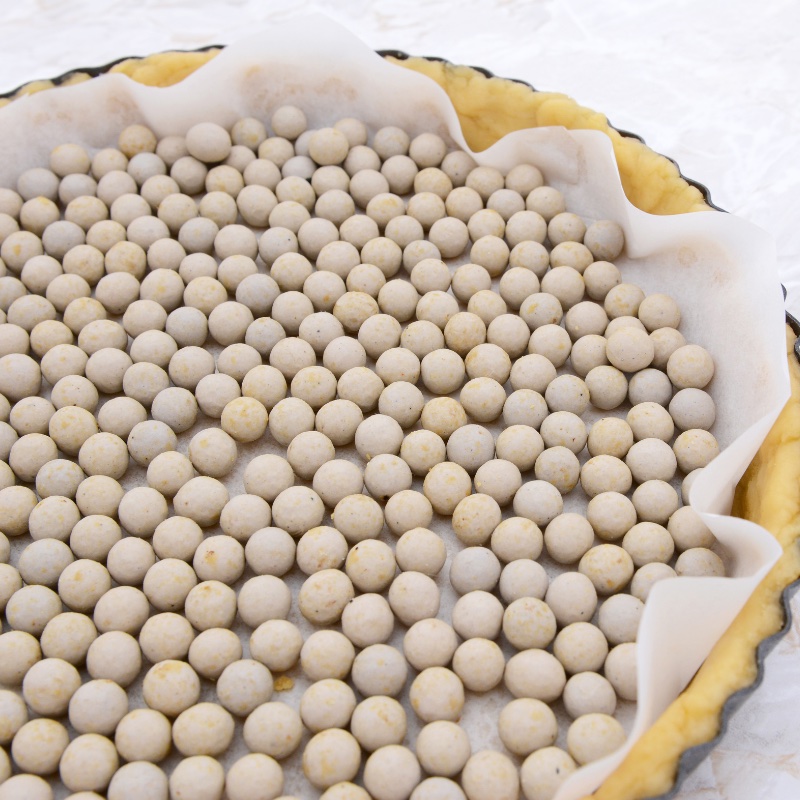
Fold the overhang dough under itself and crimp the edges using your fingers or a fork. To prevent the crust from puffing up during baking, prick the bottom of the crust with a fork. Line the crust with parchment paper or aluminum foil and fill it with pie weights or dried beans. Bake the crust for 15 minutes. Remove the weights and parchment paper, and bake for an additional 5-10 minutes, or until the crust is lightly golden.
- COOL
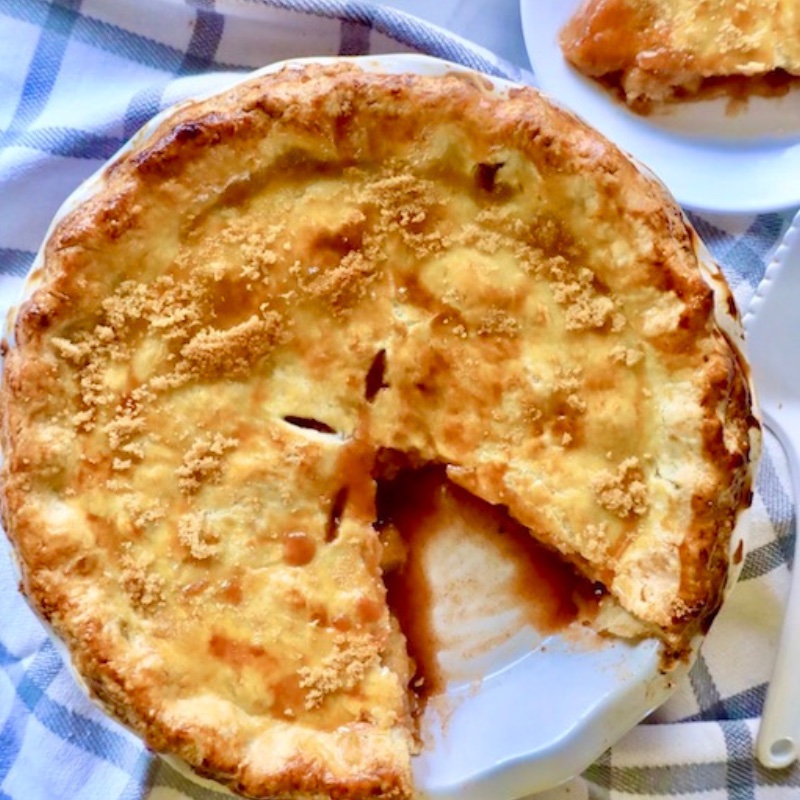
Let the crust cool completely before filling it with your desired pie filling.
Frequently Asked Questions
The best type of butter to use for an all-butter pie crust is unsalted, high-quality butter. Look for butter with a high-fat content, as this will give your crust the best flavor and texture.
Yes, you can make an all-butter pie crust ahead of time. Once the dough is made, wrap it tightly in plastic wrap and store it in the refrigerator for up to 3 days or in the freezer for up to 3 months. Thaw the dough in the refrigerator overnight before using it in your recipe.
To prevent your all-butter pie crust from shrinking, make sure to chill the dough for at least 30 minutes before rolling it out. Prick the bottom of the crust with a fork to allow steam to escape during baking. You can also use pie weights or dried beans to weigh down the crust while it bakes. Finally, avoid overworking the dough, as this can cause it to shrink as it bakes.
Docking is a technique used when making pie crusts to prevent the crust from puffing up and creating air pockets while it bakes. To dock the crust, you use a fork or a special tool called a docker to poke small, even holes in the bottom and sides of the crust. This allows steam to escape and prevents the crust from rising too much. Docking is especially important when you are pre-baking a pie crust before adding a filling, as it ensures the crust stays flat and even. Overall, docking is a simple but essential step in making a perfect pie crust.
Recommended Recipes

Pie Crust
Equipment
- 9" Pie dish
- Rolling Pin
- Large mixing bowl
- Pie weights
Ingredients
- 1 1/2 cups all-purpose flour
- 1/2 teaspoon fine sea salt
- 1 tablespoon granulated sugar
- 1/2 cup or one stick of unsalted butter, cubed
- 3-4 tablespoons ice cold water, more if the dough still too dry
Instructions
- Combine the flour, salt, and sugar in a bowl. Add the cold, cubed butter to the bowl and use a pastry cutter or your hands to work the butter into the flour mixture until the mixture resembles coarse sand.
- Slowly add the ice water, a tablespoon at a time, and mix until the dough comes together. Be careful not to overwork the dough. See NOTE #1
- Wrap the dough in plastic wrap and refrigerate for at least 30 minutes.
- Preheat your oven to 425ºF. Remove the dough from the refrigerator. Dust your work surface with flour and roll the dough into a circle about 12 inches in diameter. Carefully transfer the dough to a 9-inch pie dish. Trim excess dough, leaving about 1/2 inch overhang.
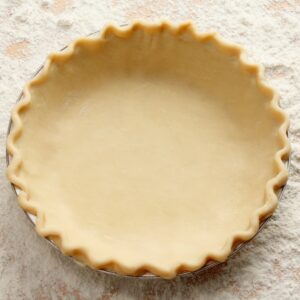
- Fold the overhanging dough under itself and crimp the edges using your fingers or a fork. See NOTE #2
- To prevent the crust from puffing up during baking, prick the bottom of the crust with a fork. Place the crust in the fridge for another 15 minutes.
- Remove the crust from the fridge, line it with parchment paper or aluminum foil, and fill it with pie weights or dried beans. See NOTE #3
- Bake the crust for 15 minutes. Remove the weights and parchment paper and bake for an additional 5-10 minutes, or until the crust is lightly golden
- Let the crust cool completely before filling it with your desired pie filling.
Video
Notes
- Use your fingers to create a fluted edge. Starting at one end, use your thumb and index finger to gently pinch the dough, creating a V-shape. Move your fingers about 1/2 inch apart and pinch again. Continue all the way around the edge of the pie crust until you reach the beginning.
- For a more defined fluted edge, you can use a fork or a special tool called a pastry crimper. Simply press the tines of the fork or the crimper into the dough at regular intervals, making sure to keep the spacing consistent. This will create a uniform fluted edge that looks quite elegant.
Equipment


Get a Free Week Of Meal-Prepping Recipes with a Grocery List