Homemade Bread
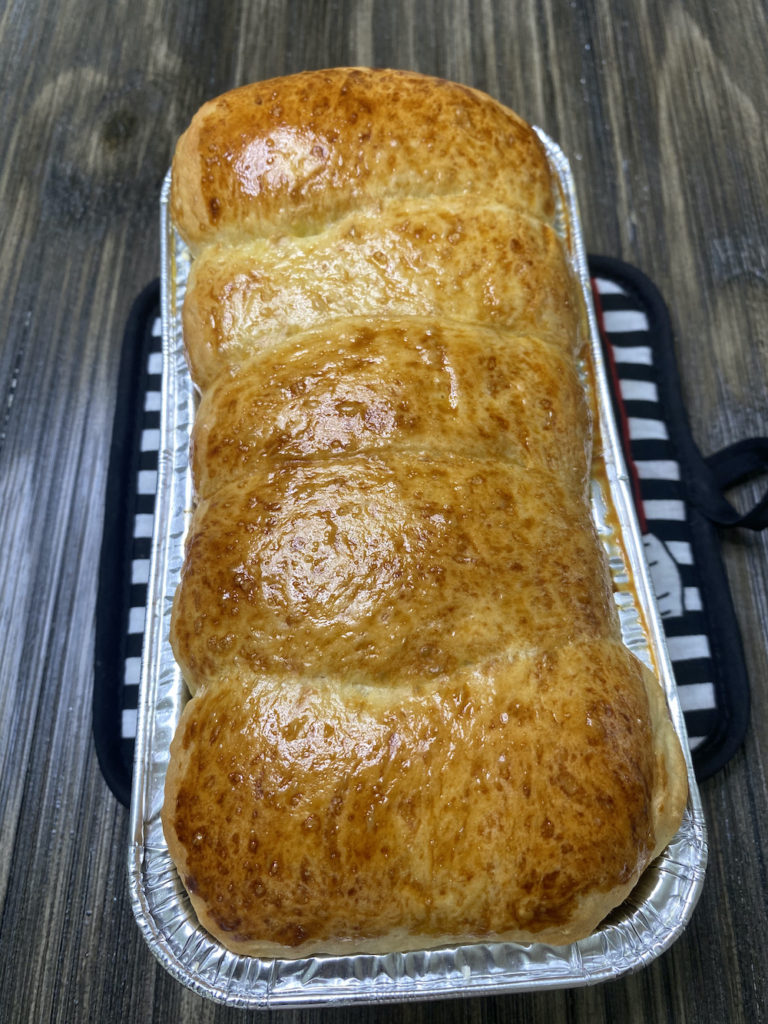
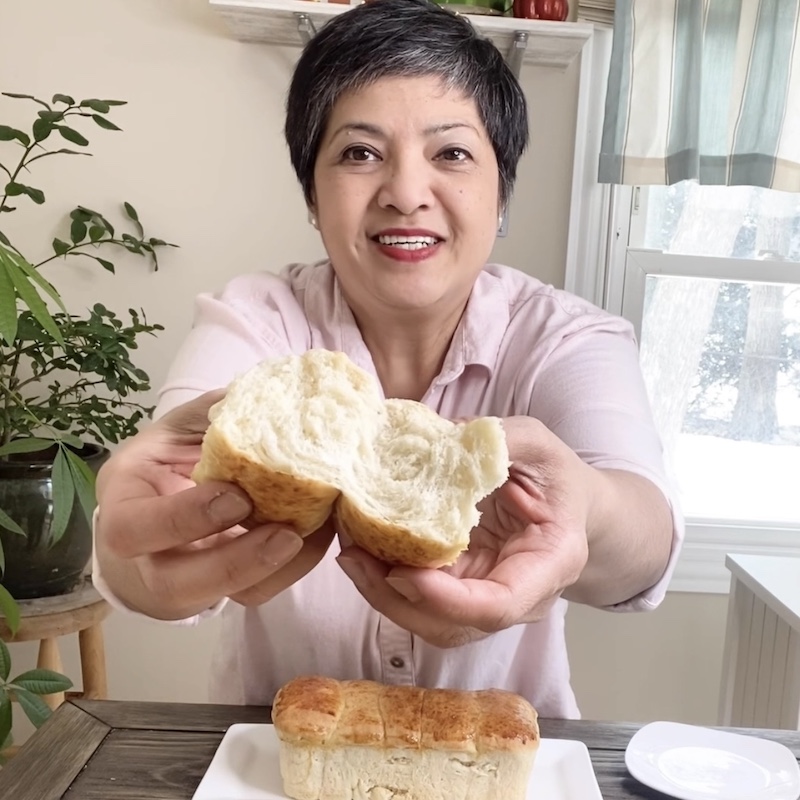
Nothing better than making your own bread. The lingering smell of goodness around your house is very enticing. This experience always reminds me of childhood. At first, I was intimidated by the process of making good bread. Then I realized that it’s not as bad as I thought. Making my own bread gives me total control of the ingredients. I’m not gonna lie, I had to practice a few times before I got it right. Now, I can say that all that time I spent learning and practicing is worth the effort.
Jump to Recipefollow us on social
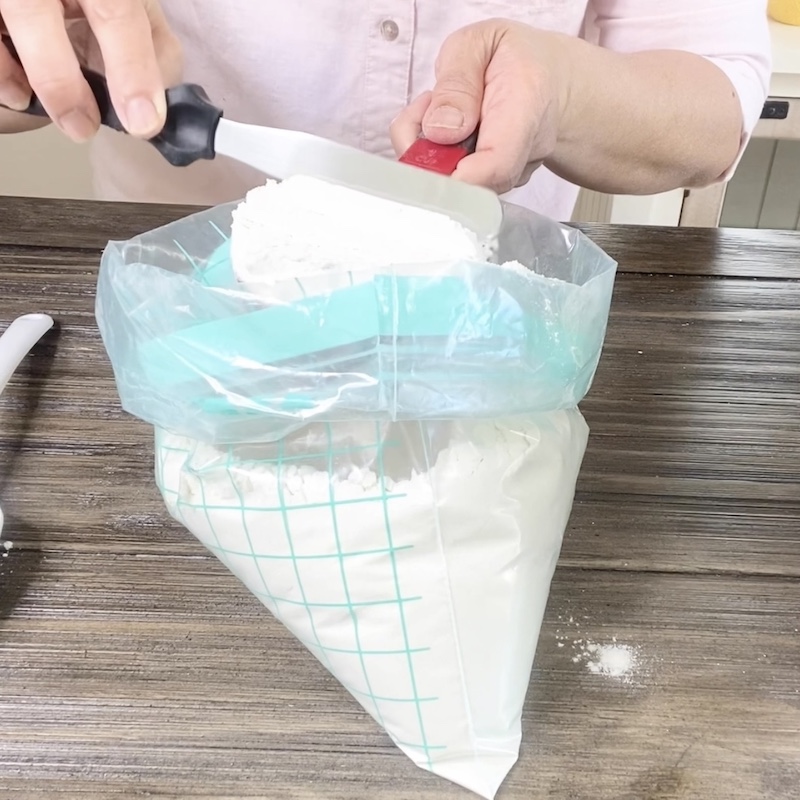
How to measure your dry ingredients:
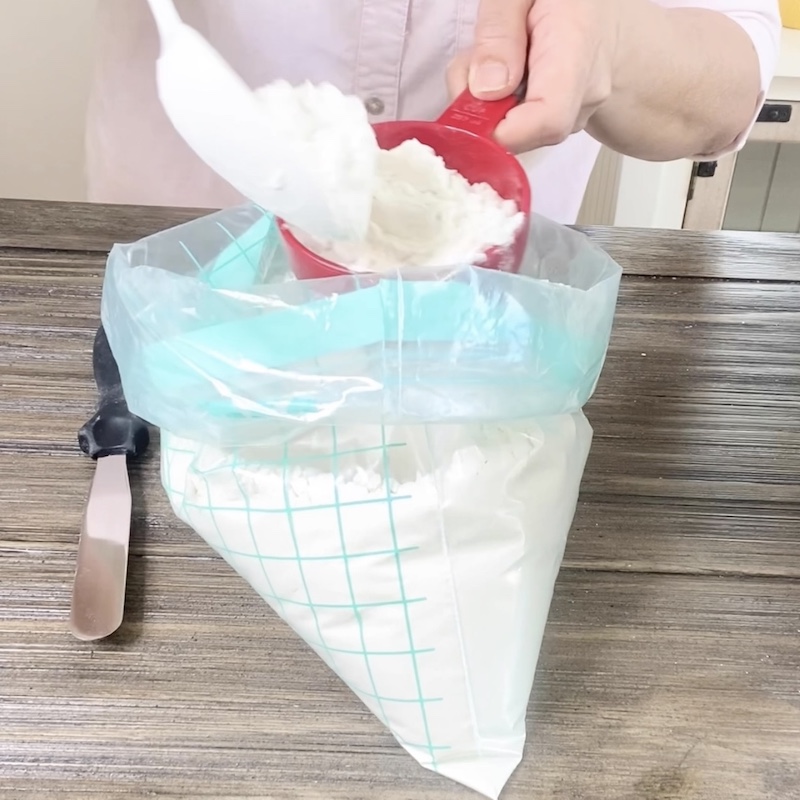
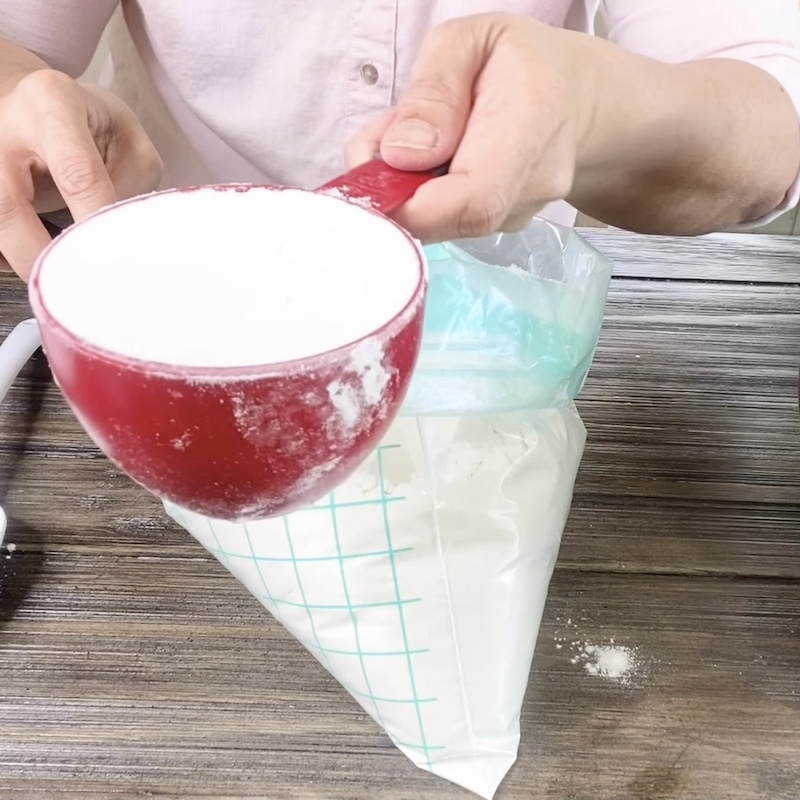
- Scoop the flour into the measuring cup.
- Use a spatula or something you can use to scrape off the excess flour and level the top of the measuring cup.
- Add the flour to the bowl.
two ways to bake this homemade bread
1. how to use a single loaf pan
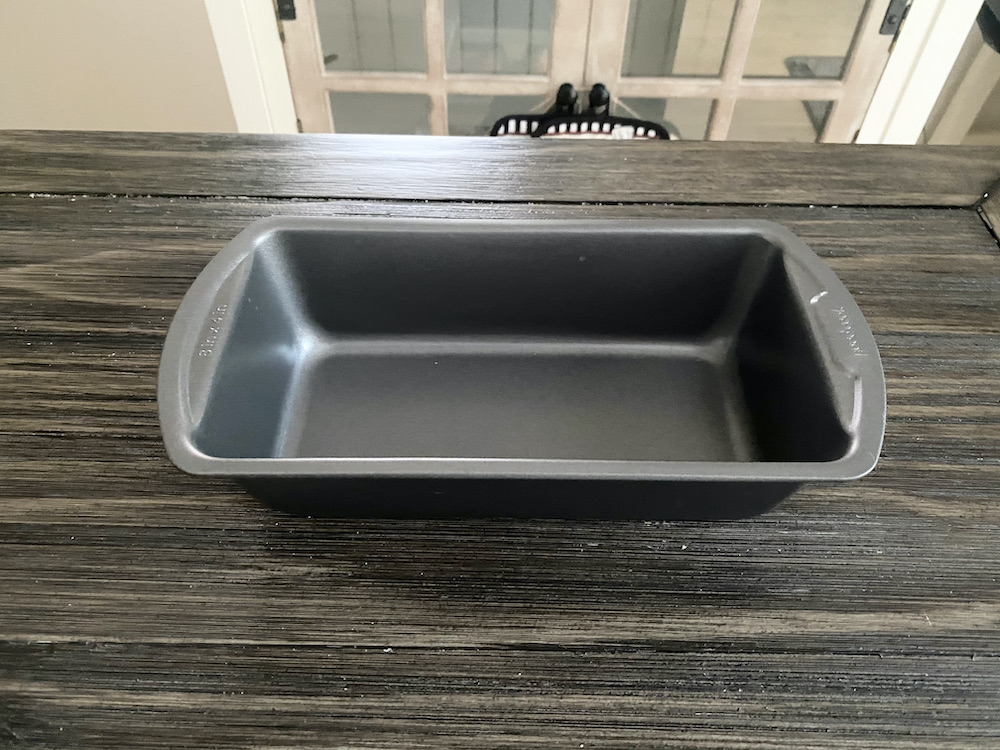
NOTES: This is a 3 1/2 x 7 1/2 loaf pan bread. There are two options: One is to dump the whole dough into this loaf pan and cover with plastic wrap, let rise for an hour or until it doubles the size, then bake. Or, two is to follow the instructions below.
2. how to roll out the dough
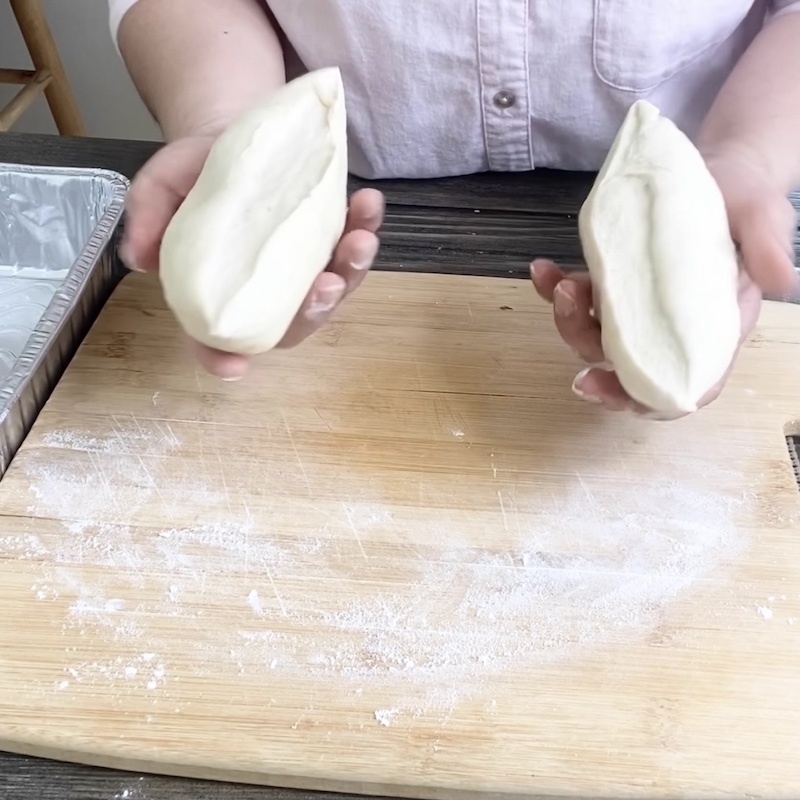
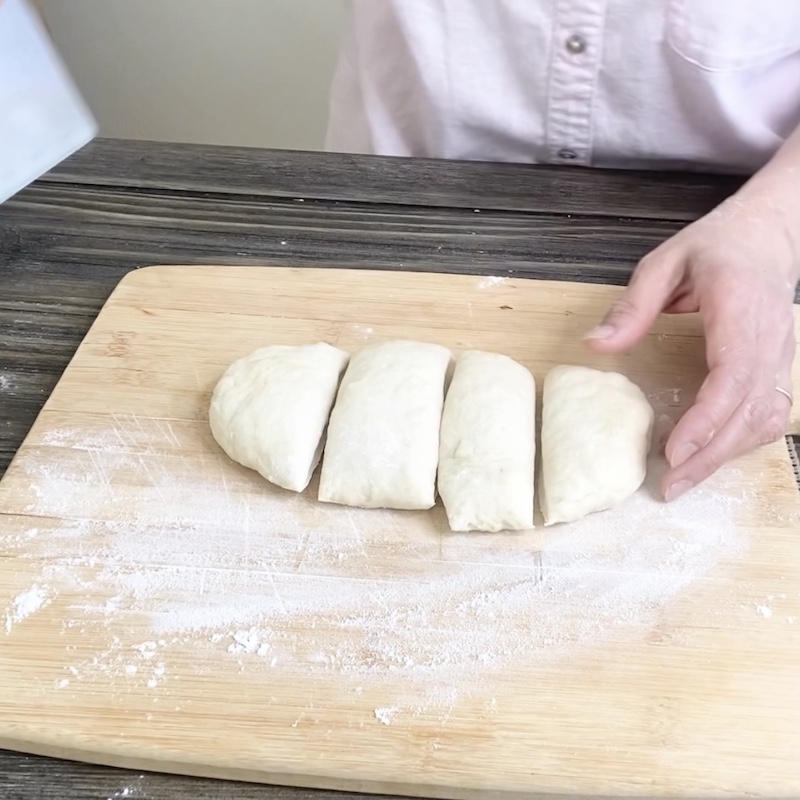
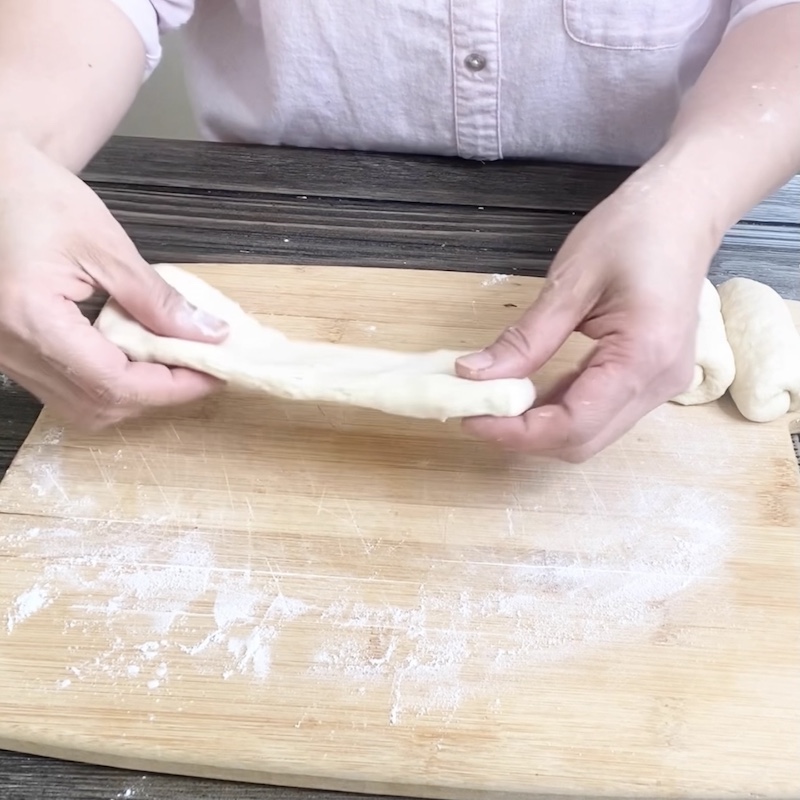
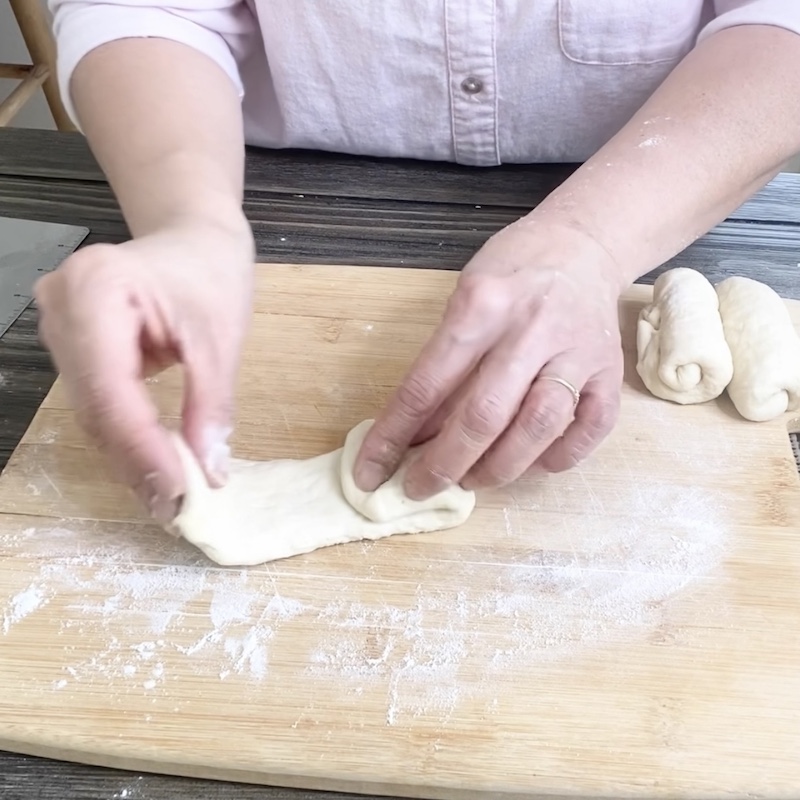
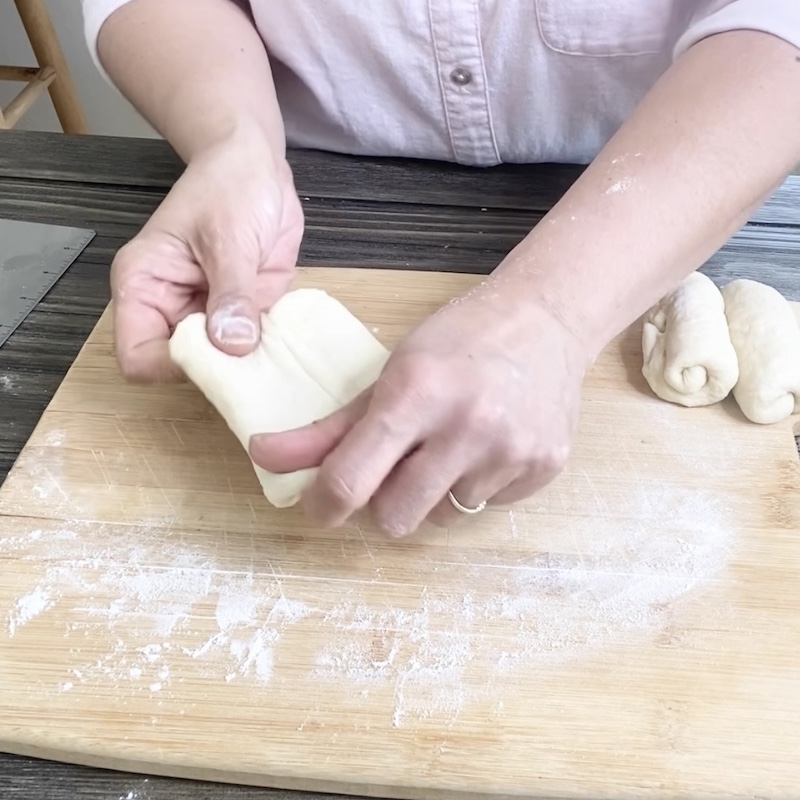
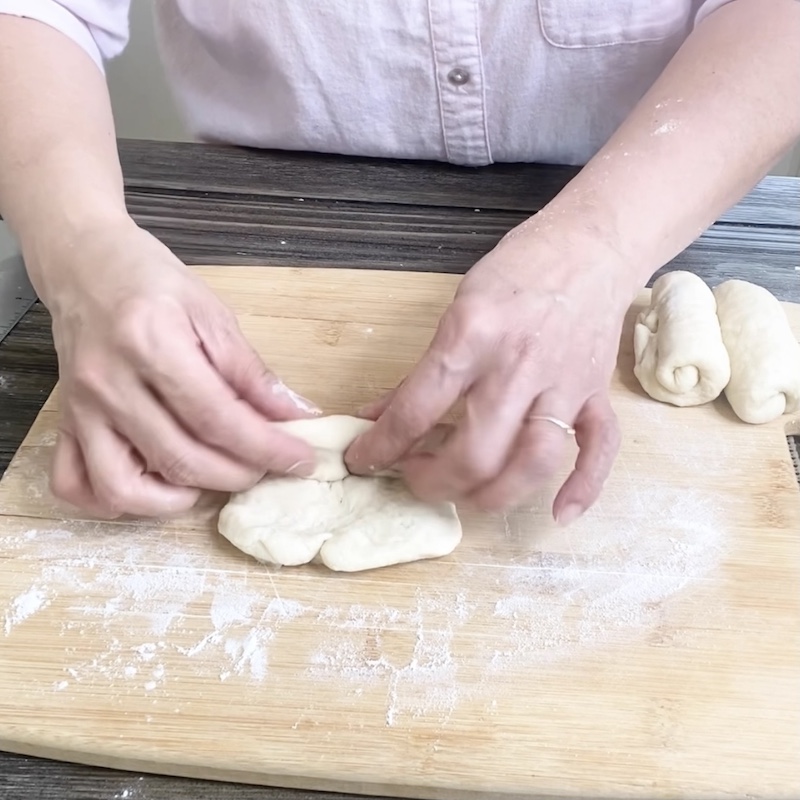
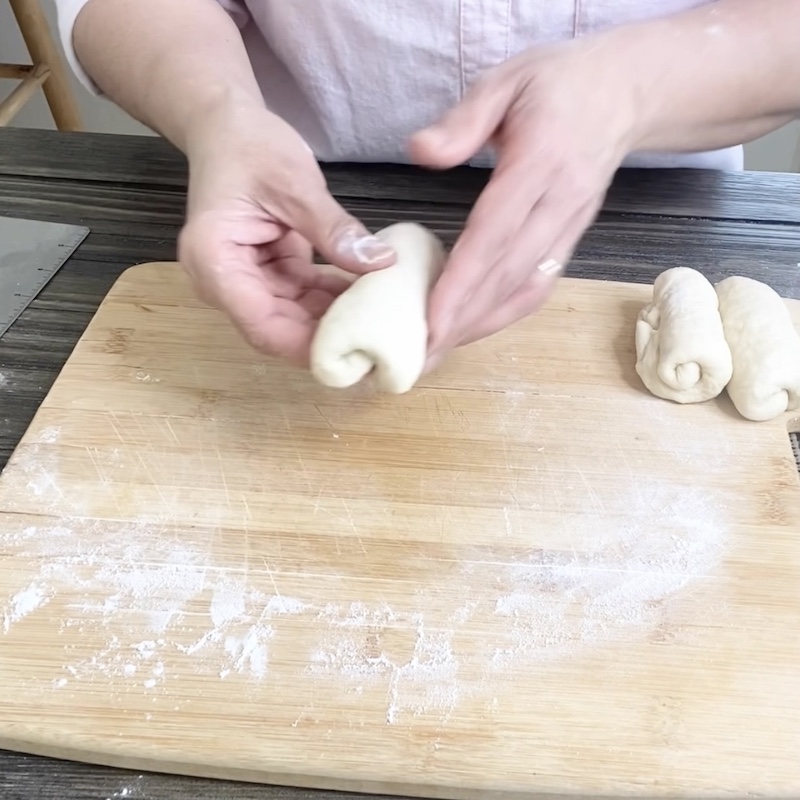
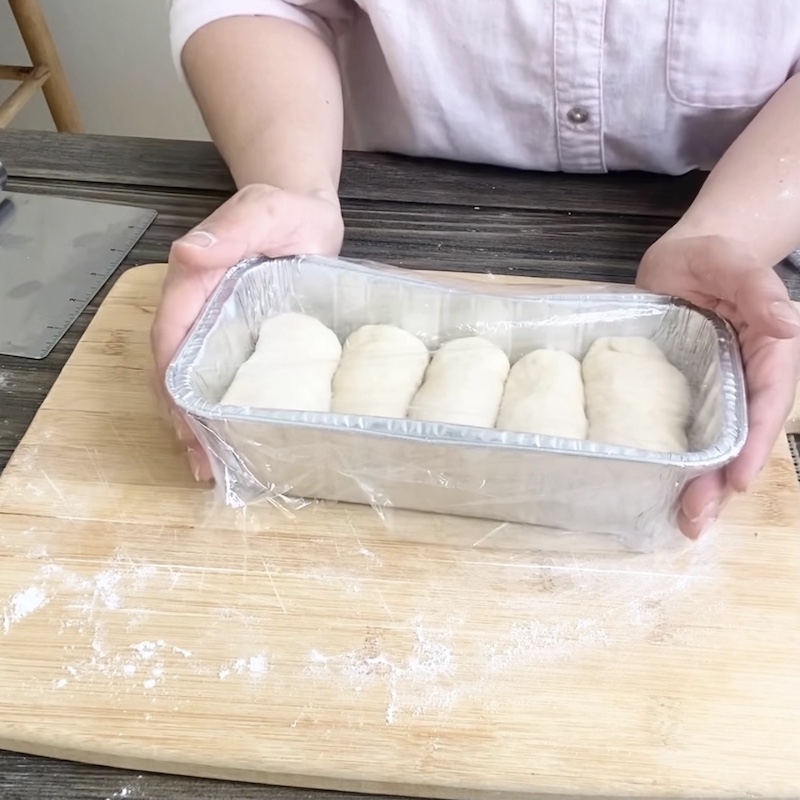
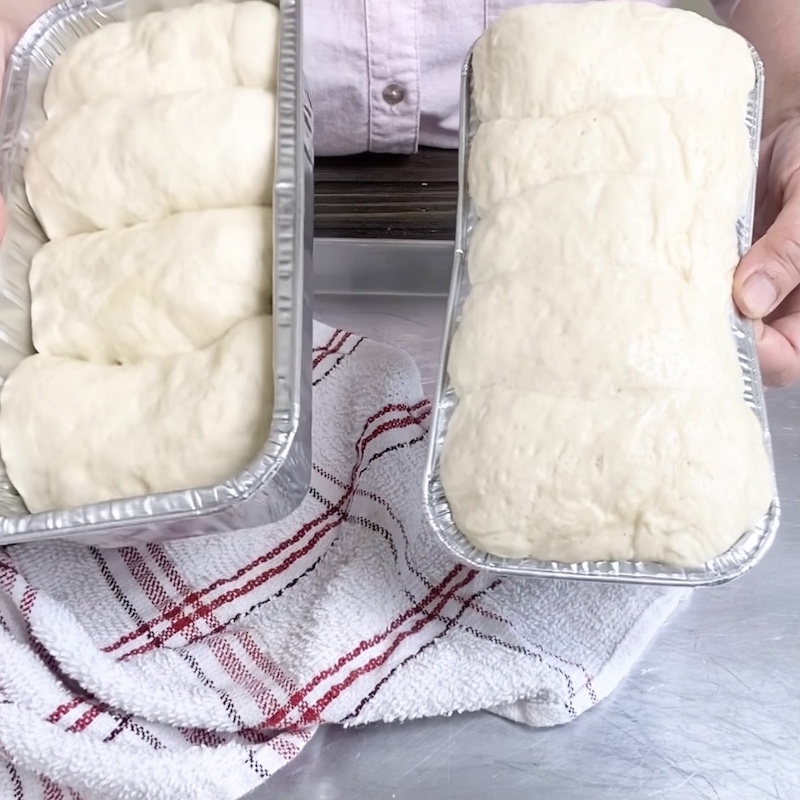
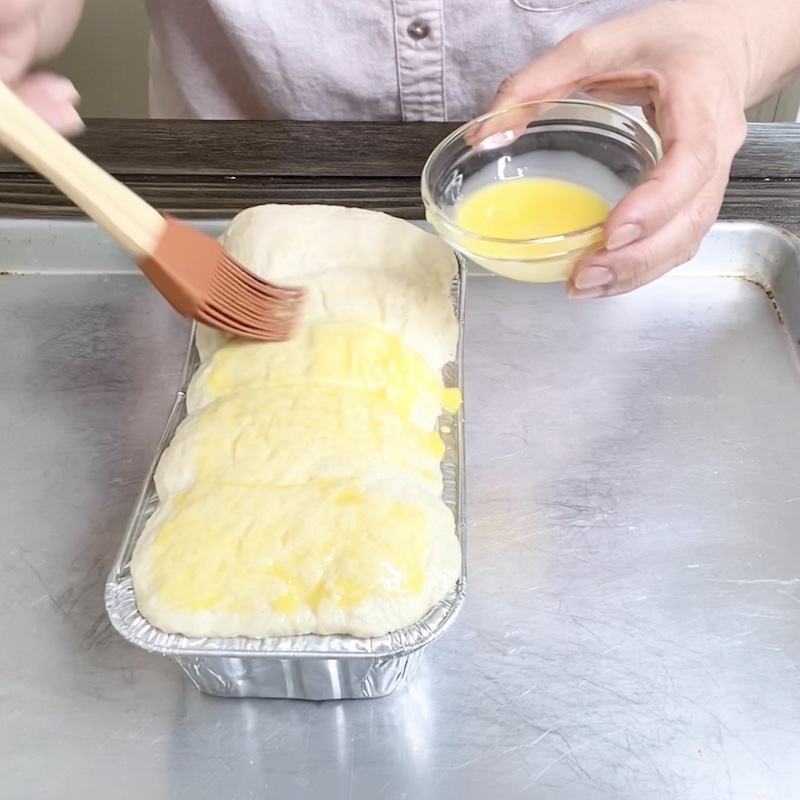
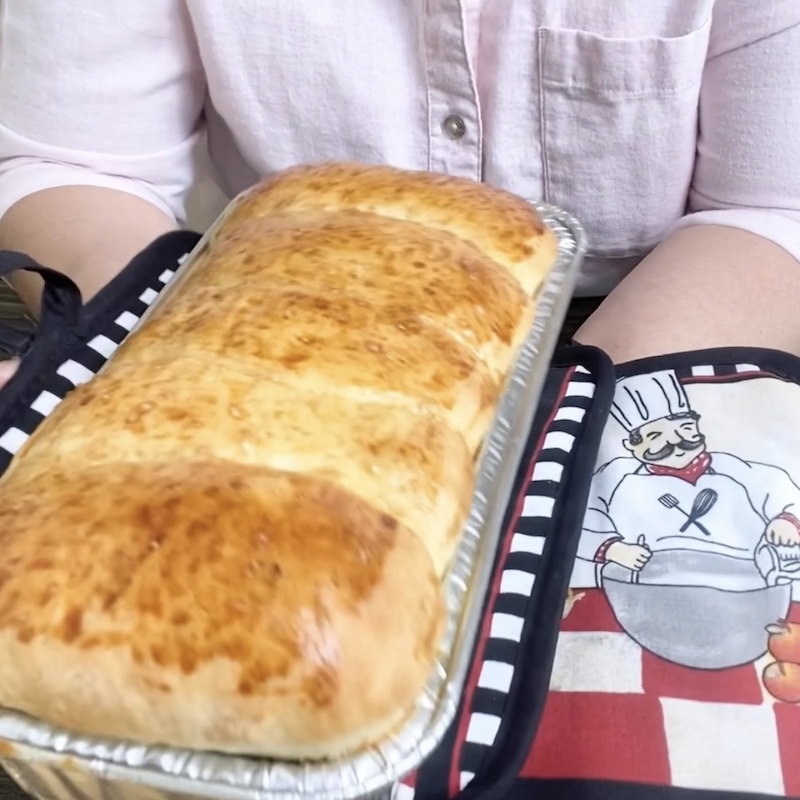
♦ Step by step for the rolled-out loaf of bread vs. just one normal size loaf of bread.
- Cut the dough into two pieces. Wrap half of the dough in plastic wrap while working on the other half. This way the dough doesn’t dry out.
- Cut half of the dough into four pieces.
- Form the pieces into a rectangle.
- Fold two sides like an envelope (see video).
- Turn the dough on the opposite side.
- Stretch and roll all the way to the end until it forms into a cylindrical shape.
- Repeat the process four more times to have a total of 5 rolled doughs. Then place them in the greased loaf pan (3×7 loaf pan).
- Use two 3×7 pans, please note that one pan will have five rolled doughs and the other pan will only have four.
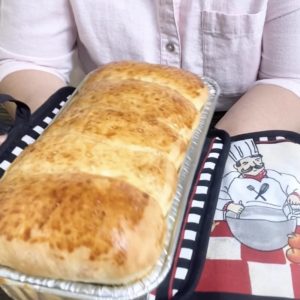
- Cover with plastic wrap then place a kitchen towel over it. Let rise for an hour or until it doubles the size. There will be two loaves of bread, but one is bigger than the other because one pan will only have four rolled doughs and the other pan will have five rolled doughs (see image #9).
- Brush with egg wash and bake in 375ºF preheated oven for 35-40 minutes or until golden brown.
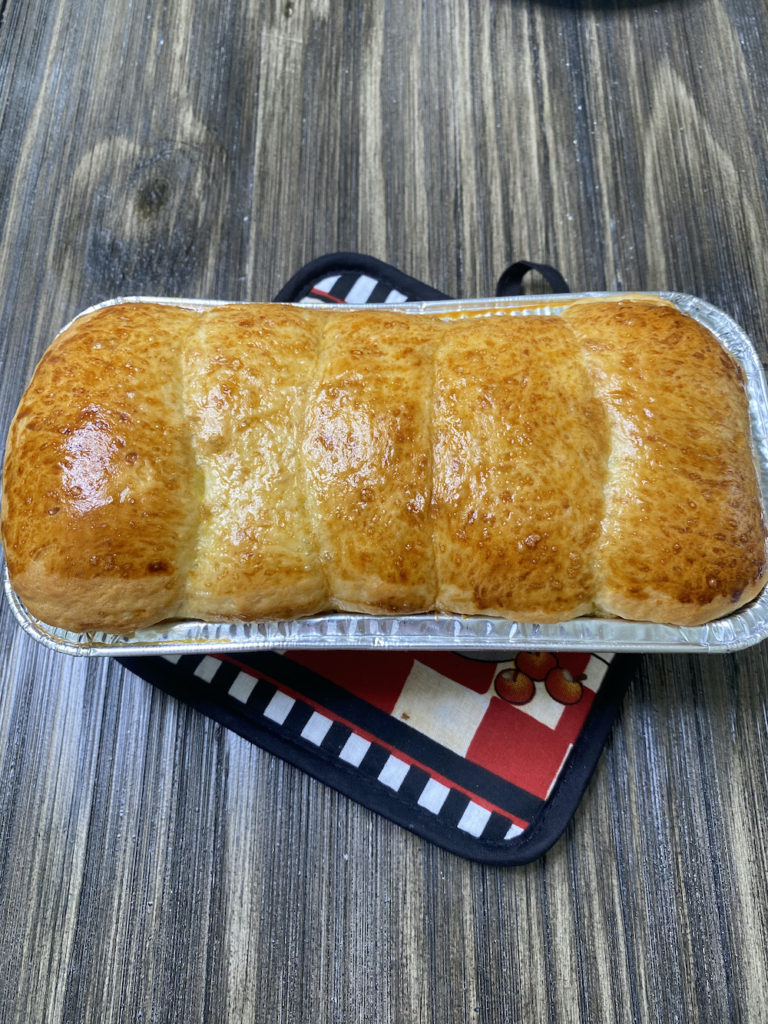
watch how to make the homemade bread
follow us on social
print the recipe
Homemade Bread
Equipment
- Stand mixer with hook attachment
- Kitchen towel
- Spatula
- Measuring cup
- Measuring spoons
- Mixing bowls
Ingredients
- 3 cups bread flour or all-purpose flour
- 3 tablespoons olive oil
- 3 tablespoons sugar
- 1 cup warm water, 100ºF-105ºF
- 1 sachet instant dry yeast or 1.25 teaspoon
- 1 teaspoon salt
Instructions
- Place one cup of flour into the mixing bowl, add sugar, yeast, and water. Use a spatula, stir the yeast mixture until smooth. It's ok if you see some lumps. Cover with plastic wrap and place a kitchen towel over. Let it rest for 45 minutes or until frothy (foamy).
- Use a hook attachment of your mixer. Turn the mixer to low speed and gradually add the rest of the flour, olive oil, and salt. Continue mixing until well incorporated. Scrape the sides of the bowl to get all the flour mixed in.
- Turn the speed to medium-high, mix until the dough comes together. If it sticks to the bowl, add a little bit of flour. Remove the dough from the mixer.
- Lightly flour a surface, knead the dough for 10 minutes or until smooth.
- Preheat the oven to 375ºF. Grease a 3 1/2 x 7 1/2 loaf pan. Place the kneaded dough into the pan, cover with plastic wrap, and lay a kitchen towel over. Rest for an hour or until it doubles the size. Brush with egg wash and bake for 35 minutes or until golden brown.
Notes
- When proofing, place the dough in a warm area of the house. Or inside the oven with the light on.
- If you like to have 2 loaves of rolled doughs vs. one single loaf pan, follow the images and instructions above.
- For the egg wash, combine one egg yolk and one tablespoon of water. Mix to combine and brush your dough before baking.
follow us on social
get your FREE one week meal prep recipes
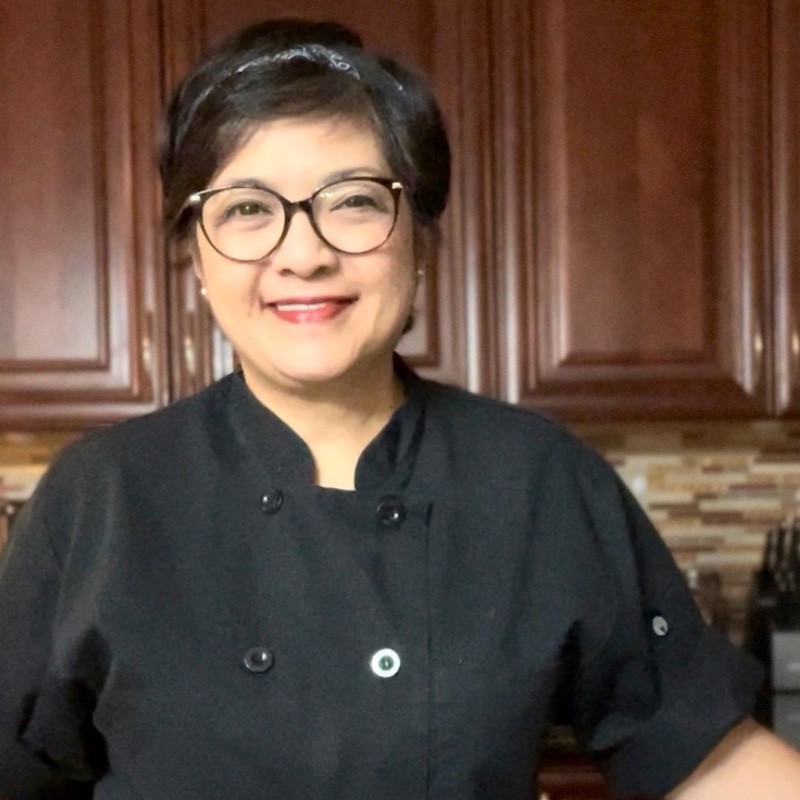
Hi there! My name is Jen.
I’m a mom of 2 wonderful girls. I love to prepare and cook home-cooked meals. Cooking and planning your meals might sound like another chore added to your already long list of things to do. Believe me, I’ve been there. However, cooking more meals at home is worth all the effort. After years of cooking for my family and teaching culinary classes, I can honestly say that I have more control over the quality of the ingredients I use. That means I’m eating a lot healthier. Eating healthy doesn’t have to be boring or don’t have to eat the same thing repeatedly. There are ways we can do to naturally enhance the flavor of our food and enjoy home-cooked meals.
